Shipping Estimate
USA
- USA
- CAN
- USA
- CAN
Ships within 48 hours · Estimated delivery Jul 14 - Jul 19
 Promo Codes Available:
For Your Every Summer RSVP, with Code: SUMMER15
Description
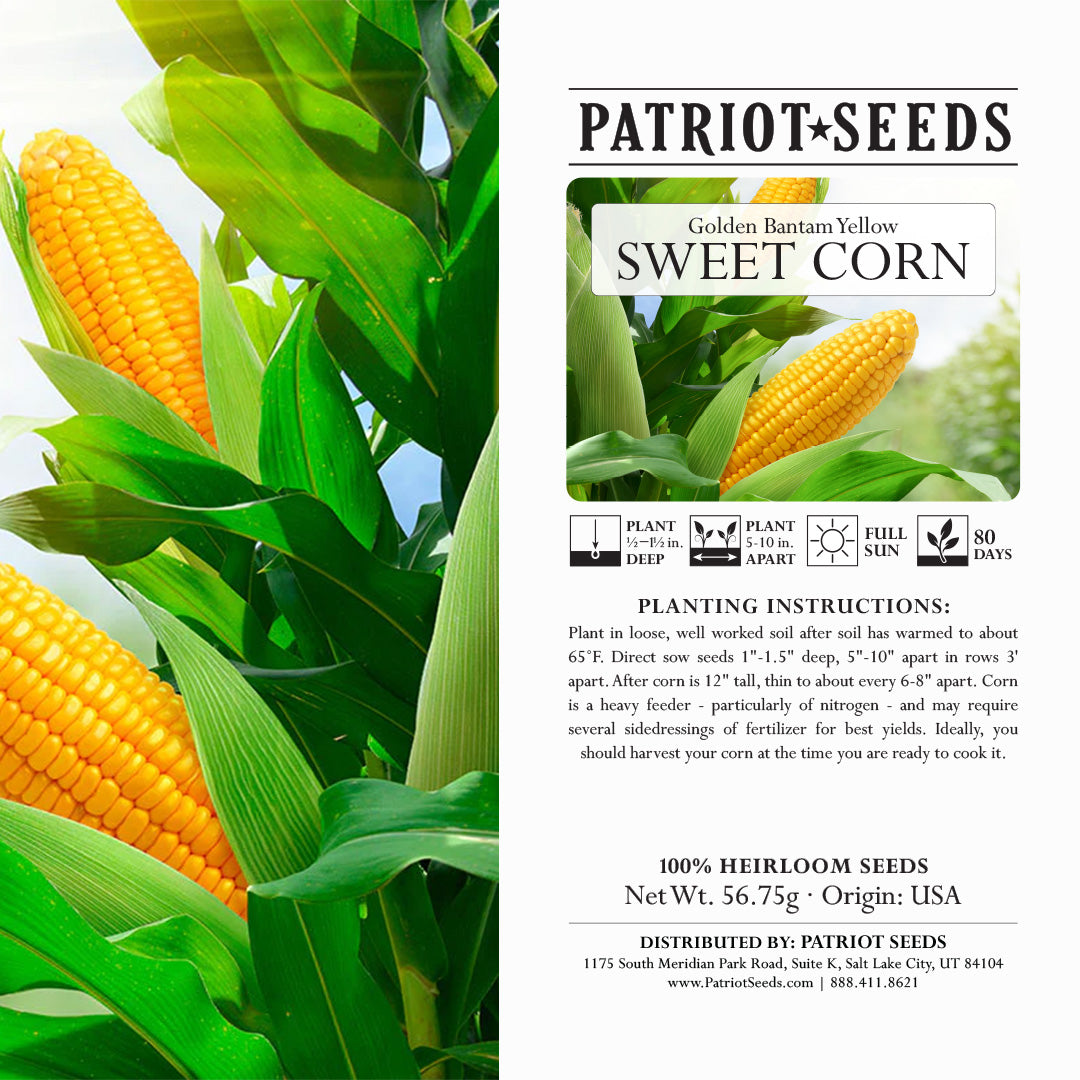
sweet corn seed planting instructions Heirloom Golden BantamGolden Bantam Yellow Sweet Corn (56. 75g): Golden Bantam is an old time favorite. The plant yields lots of ears up to 7" long. This is the sweet corn that made us fall in love with sweet corn! Average: 80 days. Detailed planting instructions: Corn requires rich, fertile soil. Add compost or well rotted manure in fall. Consider planting a legume cover crop the season before corn to help meet the nutrient needs of this heavy feeder. Make first planting
Golden Bantam Yellow Sweet Corn (56.75g):Golden Bantam is an old time favorite. The plant yields lots of ears up to 7" long. This is the sweet corn that made us fall in love with sweet corn! Average: 80 days.
Detailed planting instructions:
Corn requires rich, fertile soil. Add compost or well rotted manure in fall. Consider planting a legume cover crop the season before corn to help meet the nutrient needs of this heavy feeder. Make first planting after last frost date. Soil should be at least 65 F for fast germination. (Corn will not germinate if soil temperature is less than 55 F.) To speed increase in soil temperature, consider covering soil with black plastic for several weeks before planting. Plant seeds 1" deep and 4 to 6" apart in rows 30 to 36" apart. Thin to 8 to 12" spacing when plants are 3 to 4" tall. Increase seeding rates to ensure a good stand if soils are cold or you are using seed that has not been treated with fungicide. (Untreated seed has natural color. Treated seed is dyed).
To save space, you can intercrop corn with early-harvested cool-season crops. Corn plants have many roots close to the surface, so cultivate around them with care. You can hill soil up around the base of plants as they grow to bury small weeds in the row and give the corn a better foothold. After the soil has warmed, you can mulch corn to help suppress weeds and retain moisture. It is not necessary to remove suckers (side sprouts growing from the base of the plant). Studies show that removing them may actually reduce yields. Corn is a heavy feeder - particularly of nitrogen - and may require several sidedressings of fertilizer for best yields. Look for signs of nutrient deficiency. Purple-tinged leaves are a sign of phosphorus deficiency. Pale green leaves are a sign of nitrogen deficiency. For miniature or baby corn, plant seeds 2 to 4 inches apart and harvest as silks emerge from the ear, or harvest secondary ears from normally spaced plantings, allowing the main ear to fully mature. Also try hybrids specifically bred for early baby corn harvest.
Harvesting:
Of all the vegetables grown, corn is the one most often harvested too late. With corn, it is essential to pick it at the right time to get the best quality and flavor. Corn also starts to lose its quality quickly after it is harvested. Within 24 hours after being picked, most corn loses more than half its natural sugars by converting them to starch. Ideally, you should harvest your corn at the time you are ready to cook it.
Check sweet corn for ripeness when the the silks have turned brown but are still damp to the touch. Pull back the husk partially and puncture a kernel. If a clear liquid spurts out, the corn is not ready. If a milky liquid spurts out, it is ready and should be picked immediately! If no liquid emerges, the corn is past its prime. Beware, however, that though pulling back the husks is a reliable method of checking for ripeness, it does have a major disadvantage if the corn is still immature when you do the checking. Once you open an immature ear, it becomes susceptible to insect and other pests, as it continues to ripen. Attack by birds also becomes more likely. With a little experience and practice, you'll be able to judge the ripeness of corn fairly accurately, just by feeling the ends of the ears and not have to worry about that problem.
Saving Seeds:
To save corn seed choose the earliest and the best-developed corncobs you can find. Cover them with a large enough paper bag to be able tie the top off to keep the bugs and grubs out. Do not use a plastic bag as the cob needs to breathe. Allow the cob to develop and dry out on the stalk as long possible. To store the cobs, remove them from the bag, pull back the husks, and hang in a dry area away from bugs or rodents, or you will end up with a dried out corncob with no seed. When the cobs are fully dried out, carefully break-off the seed, store in a paper bag, and keep in a cool place (the bottom of the fridge is a good spot) until springtime and you want to sow it.
Shipping Notes
- Free Standard Shipping on $100+ Orders to the USA.
- Except Preorder products are shipped in 48 hours.
- Delivery to the USA:
- Standard Shipping : 3-10 business days
- If time is of the essence, please consider selecting expedited delivery for faster service.
Exchange/Return Notes
- We offer a 30-day return/exchange service after receiving.
- Final sale items are not eligible for returns or exchanges.
- To process your return/exchange, please contact us at [email protected]
- Please click here for more details>>> Return & Exchange Policy
4.8 ★★★★★
Based on 75 reviews
Sort
Product Reviews
★★★★★ 1
Stay away
Do not buy these, they will melt.
WAS THIS REVIEW HELPFUL?YesReportShare
Reviewed in the United States on September 9, 2025
★★★★★ 5
Fit very well
Yes
WAS THIS REVIEW HELPFUL?YesReportShare
Reviewed in the United States on December 18, 2025
★★★★★ 4
Fit. With Modification.
I lost one of my housings on the freeway and had a hard time finding the style I had. Different than the standard, but not the Euro ones. Hard to find, at least for me. These were a bit closer to what mine looked like. I had to remove the rubber gasket around the housing to get it to fit (2003 330XI) but it worked like a charm.
WAS THIS REVIEW HELPFUL?YesReportShare
Reviewed in the United States on January 16, 2025
★★★★★ 3
Not a proper fit
Received as promised by the seller.
My cons on this item:
1) the socket holes does not make a tight fit with the light bulb sockets I have. Both issues for left and right. I had to double the o-ring on my light sockets to make it tight fit.
2) The rubbers around the casing was not properly glued in. The rubber sticks out by a few centimeters. Pics attached.
WAS THIS REVIEW HELPFUL?YesReportShare
Reviewed in the United States on November 29, 2025
★★★★★ 4
Looks great on my 2005 BMW 325i
Very pleased with the results after I assembled on my car…except the fit of bulb socket to assembly was a little loose on both of them….but I think it will be fine.
WAS THIS REVIEW HELPFUL?YesReportShare
Reviewed in the United States on November 23, 2024