SKU: 26148524906
garden hose spray attachment

garden hose spray attachment Fertilizer Sprayer for Garden Hose

Sale price$18.07 Regular price$20.08
Save 10%

Pay in installments of $5.02 with ShopPay, AfterPay and Klarna

Shipping Estimate
USA
  • USA
  • CAN

Ships within 48 hours · Estimated delivery Jul 17 - Jul 22

Promo Codes Available:

For Your Every Summer RSVP, with Code: SUMMER15

Description

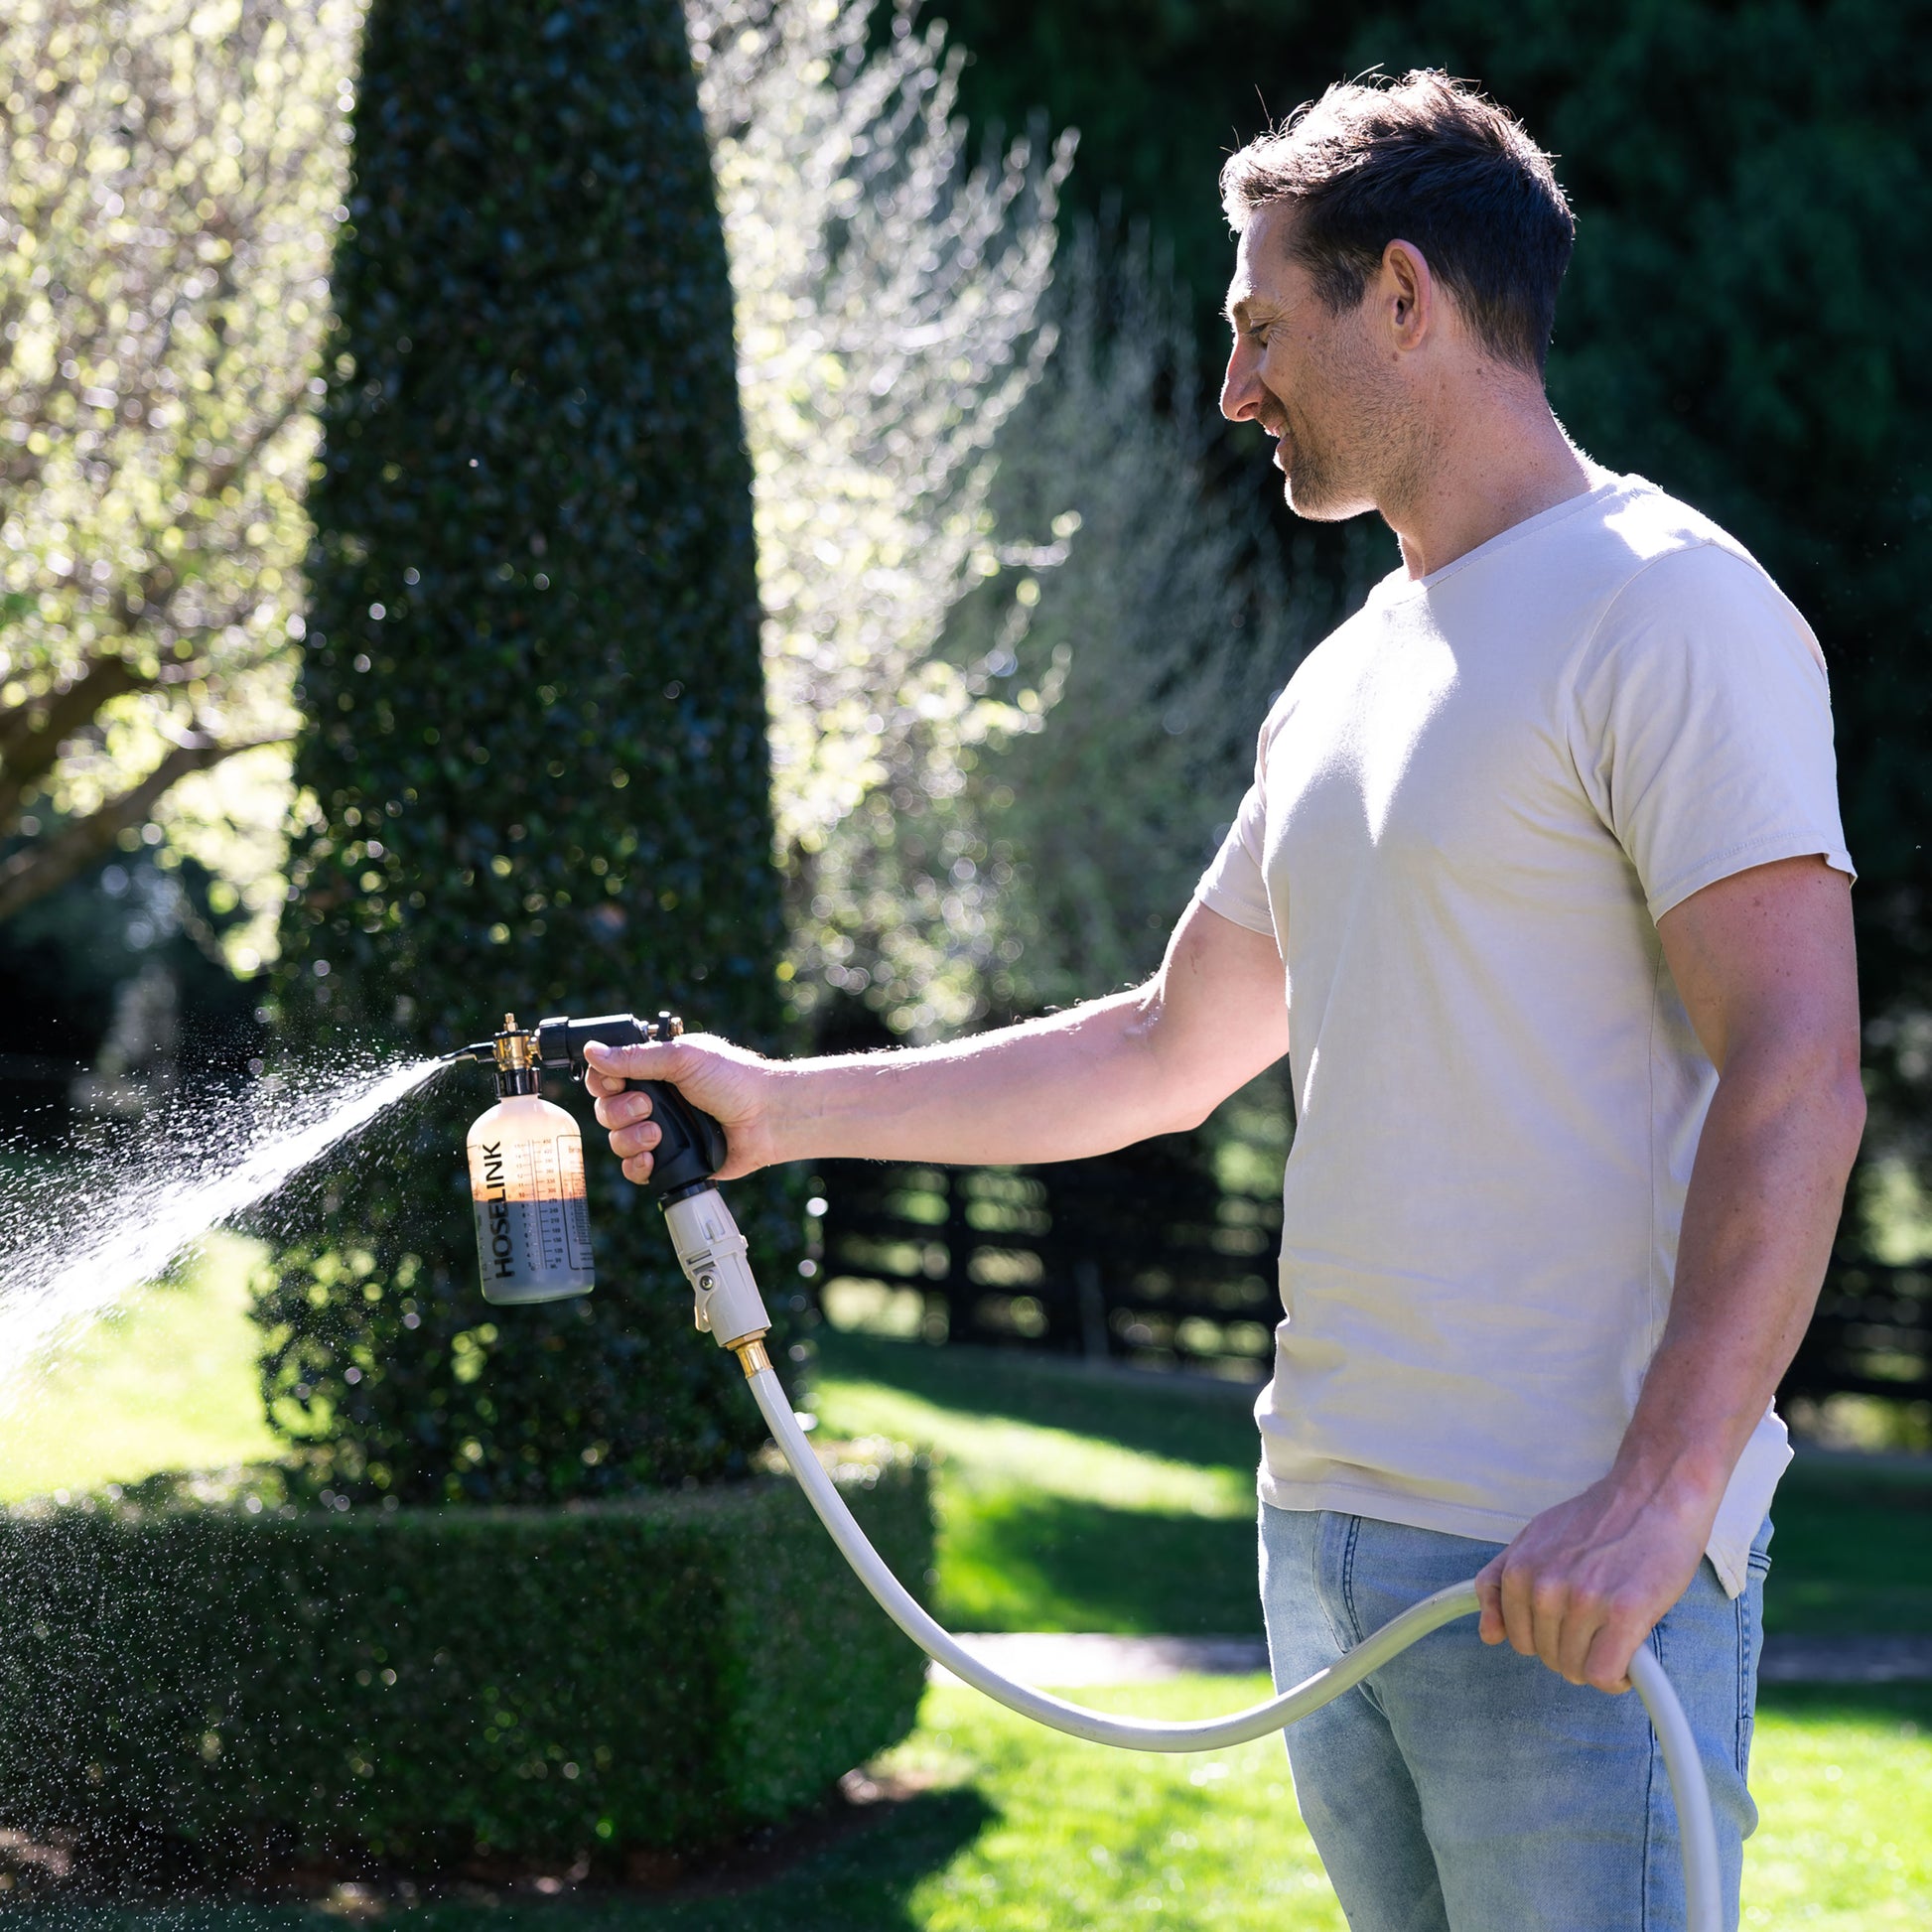
garden hose spray attachment Fertilizer Sprayer for Garden HoseConnect the Fertilizer Sprayer for Garden Hose to your hose to quickly and conveniently dispense commercial fertilizer onto your lawn or garden. The easy to use trigger spray is ideal for those who suffer from arthritis and are unable to use a pump style bottle. Not suitable for low water pressure or use with water tanks, requires minimum 50psi to operate. How to use the Fertilizer Spray Mixer Add concentrate to the bottle, no pre mixing required.

Connect the Fertilizer Sprayer for Garden Hose to your hose to quickly and conveniently dispense commercial fertilizer onto your lawn or garden. The easy-to-use trigger spray is ideal for those who suffer from arthritis and are unable to use a pump-style bottle.

Not suitable for low water pressure or use with water tanks, requires minimum 50psi to operate.

How to use the Fertilizer Spray Mixer

  1. Add concentrate to the bottle, no pre-mixing required. *Please ensure you read the instructions on the fertilizer bottle as this may vary.*
  2. Set dilution ratio by turning the selector dial until the desired number is aligned with the brass knob on the side of the dial.
  3. Attach the Mixer to your Hoselink-fitted hose using the included Male Hose Connector
  4. Turn water flow on. Squeeze the trigger and spray on to your lawn or garden as required.

Installing the flow reduction

  1. Unscrew the bottle and remove the filter from the base of siphon tube.
  2. Unscrew the brass pin from above the selector dial.
  3. Push the flow reducer into the bottom of the siphon tube. 
  4. Put siphon tube filter back in place and reassemble the bottle.

How it works

The selector dial draws a measured amount of fertilizer up from the spray bottle and mixes it with water flowing through from the sprayer. Dilution rates are printed on the outside of the bottle for convenience. The benefit of this system is it allows for an even spread of fertiliser.

A note about the Fertilizer Spray Mixer

This product is suitable for use with commercially available liquid fertilizers or soaps. If you are using a concentrate please follow the directions on the bottle (it may recommend diluting with water before use). 

It is not suitable for use with granulated fertilizers, compost or worm farm liquid as the sediment in these liquids will clog the spray outlet.

Clean and reuse! Fill bottle with water, set dial to 10 and spray until empty. This will prevent the contamination of multiple fertilizers/cleaning products.

Bottle holds 15oz.  

This product comes with a Hoselink connector included for quick connection to your Hoselink-fitted garden hose. If you are new to Hoselink then you will need to either convert your hose to Hoselink Quick-connect Fittings (we recommend the Quick-connect Garden Hose Fitting Set) or alternatively you can unscrew the Hoselink connector from this device and screw directly onto your hose. 


Shipping Notes
  • Free Standard Shipping on $100+ Orders to the USA.
  • Except Preorder products are shipped in 48 hours.
  • Delivery to the USA:
  1. Standard Shipping : 3-10 business days
  • If time is of the essence, please consider selecting expedited delivery for faster service.
Exchange/Return Notes
  • We offer a 30-day return/exchange service after receiving.
  • Final sale items are not eligible for returns or exchanges.
  • To process your return/exchange, please contact us at [email protected]
  • Please click here for more details>>> Return & Exchange Policy
SKU: 26148524906

Discover Niche Categories That Outsell garden hose spray attachment

Top-Converting Item to Boost Your Average Order

4.6 ★★★★★
Based on 16 reviews
Sort
Highest Rating
Newest First
Oldest First
Product Reviews
M
Verified Purchase
Mark Kadrich
Dallas, US
★★★★★ 5
Works well and is easy to install.
Model: SLH20025, Model: SLH20025
I was sound and heat insulating a generator bay in my class A RV so I did three tests before and during material application: I did a sound level test to see how effective the material was for my application, a "stickiness" test, and a flammability test. This was indoors on a dry 78°F day. From beginning to end, the entire process, including testing, took 5 hours to install 25 sqft or material in a very complex area. One hour for cleaning, 3 hours for installation, and 1 hour for test setup and testing. Using a sound meter, I took before and after readings and determined that I reduced the sound level by 2.2 db (40% energy decrease) with a noticeable decrease in sound and frequency. The generator bay is located under the master bedroom in the aft portion of the coach. The sound went from a rattling, vibrating generator noise to a more tolerable low level rumble. The material was easy to apply. I did some testing prior to application and determined that surface preparation is key. I cleaned my painted metal surface and then degreased with acetone and the material stuck well. Be careful and purposeful when you apply the material because once it was stuck to the metal, it was quite difficult to remove or reposition. Since it was going to be installed into a gasoline powered generator bay located under our sleeping quarters, I did some flame testing to determine the level of risk. Although not highly flammable after installation, my testing revealed that the PE used will catch on fire under certain circumstances. In order to reduce the risk, I used aluminized duct tape to ensure that all the edges were sealed and the PE was not exposed to direct flame in the event of a fire. I also decided to install an automatic fire extinguisher as an added precaution. In all fairness there should be one installed in the generator bay anyway. All in all, I am very satisfied with the product and the results. I have recommended this product to my other RV owner friends.
WAS THIS REVIEW HELPFUL?YesReportShare
Reviewed in the United States on April 13, 2025
J
Verified Purchase
Josh
Louisville, US
★★★★★ 5
Great product. Best value i could find
Model: SLH20025
I'm using talk to text, so forgive any grammatical and spelling errors. I ordered this product after doing a bit of research on sound dampening materials. I had been doing car stereo for quite some time since my teens. Itook a break for 20 years or so. I'm now 40 and back in the day there was dynamat. And that was about it. as irecently bought a new 2017 F350 crew cab. I wanted to put in a new stereo system and being that it was my dream truck. I was going to put in my dream stereo. But before I could do that, I needed to start with the sound deadening. I looked into today's leading product and found a company called resonx. Had taken their place as king of the hill in sound deadly. I researched their products and found the materials they were built from and Silas was the closest match at the best price I used Silas Max. First, then Silas 3 and 1 hybrid over that on all exterior panels. Then, on the interior panels. I used the 3 and 1 hybrid . on the floor I used Silas Max. Then, the 3 and 1 hybrid, then Silas liner over that the car is incredibly quiet . As far as sound dampening and deadening, it works very well for the money really can't beat it. Do your homework no How and where to apply it? And you really can't go wrong or about $400. I did. What would have cost me easily? Two thousand in other brands highly recommend the product prep work.Is everything do your homework?Do it right and you will be happy with this stuff
WAS THIS REVIEW HELPFUL?YesReportShare
Reviewed in the United States on May 6, 2026
W
Verified Purchase
william scott
West Palm Beach, US
★★★★★ 4
Not simple, nor easy
Model: SLH20025
I wanted to add sound proof material to the bare metal areas on the floor of my Toyota Tundra. The area behind the front seats had a haphazard application of sound deadening material. There were several complications to the project which may come up in other vehicles. First is the floor covering which had plastic pillars underneath to support any weight on the cover. The sound deadening material had to be cut out so these pillars would rest on the bare metal of the floor. This required a lot of cutting with a utility knife and at times heavy scissors. The instructions say to make a template before cutting the material and I did this for the driver's side. This doubled the amount of time needed to install it. On the passenger's side I laid the rectangles of material with the backing on and pressed the floor covering onto the material. This showed where the support pillars were, which I then cut out. Second is peeling the backing off the material. This can be very difficult as the adhesive sticks to it. The backing came off in multiple pieces and sometimes took 5 minutes for one piece. They say to wear gloves when handling the material but this is impossible when trying to get the backing off. Third is pressing the material onto the metal. The instructions say to use a roller, but this was impossible for the irregular surface I was working on. The hand is the best tool to press the material on. The material seems to be of high quality and I expect it will reduce the road noise in the cab.
WAS THIS REVIEW HELPFUL?YesReportShare
Reviewed in the United States on May 18, 2025
M
Verified Purchase
Mike
Pawtucket, US
★★★★★ 5
Great sound mat for the price!
Style: 50 mil 50 SqFt, Style: 50 mil 50 SqFt
This is a good product. Many people go with KILMAT because of the value to price point. I did as well. When you clean the surface (in my case it was all painted metal) this stuff sticks very well. I do recommend you use a seam roller of some type, I used Lumiteco 3 piece roller set. This will help with adhesion and mostly flatten the overlapped edges. It also helps you see where you have rolled as it leaves little grooves. The difference when we had no sound mats and after was very impressive. We haven't finished our install yet and it is quieter than when we had an interior in the van. There are thicker mats available in other brands, but this will work great for our van build, but this helps keep the weight down. It is quality material, just be careful when you are removing the backing, the edge of the foil face can cut you. I suggest you layout where you are installing the mat and cut to fit. From what I have read, you don't need to cover every inch in the vehicle, just spot install for a big difference. I chose to cover most surfaces to help keep sound out when we are sleeping in the van. We haven't finished putting the van yet, but we have driven it around and been very satisfied with this product.
WAS THIS REVIEW HELPFUL?YesReportShare
Reviewed in the United States on December 3, 2025
P
Verified Purchase
Paul
Dallas, US
★★★★★ 5
Excellent sound deadening mats
Style: 80 mil 36 sqft, Style: 80 mil 36 sqft
Purchased these for a 2020 Lexus RX350 due to the hollow sound of the car doors when shutting. They sounded cheap. The mats are super sticky and I applied them when the doors were hot from sitting in the sun. They alubutyl sticks like crazy and the end result was perfect. Now I have solid sounding doors. Good quality product.
WAS THIS REVIEW HELPFUL?YesReportShare
Reviewed in the United States on May 20, 2026

recommand products