Pay in installments of $6.21 with
 ,
,
 and
and

Shipping Estimate
USA
- USA
- CAN
- USA
- CAN
Ships within 48 hours · Estimated delivery Jul 22 - Jul 27
 Promo Codes Available:
For Your Every Summer RSVP, with Code: SUMMER15
Description
prickly pear cactus zone 4 Opuntia Santa Rita Prickly PearIntroducing the stunning Santa Rita prickly pear, also known as Opuntia Santa Rita, a vibrant member of the Opuntia genus. Native to the Sonoran Desert and northern Mexico, it has several other common names, such as Opuntia gosseliniana var. Santa Rita, Opuntia chlorotica var. Santa Rita, Opuntia violacea var. sinta rata, and purple prickly pear. It is highly regarded for its striking purple to violet colored pads and vibrant yellow flowers. The Santa
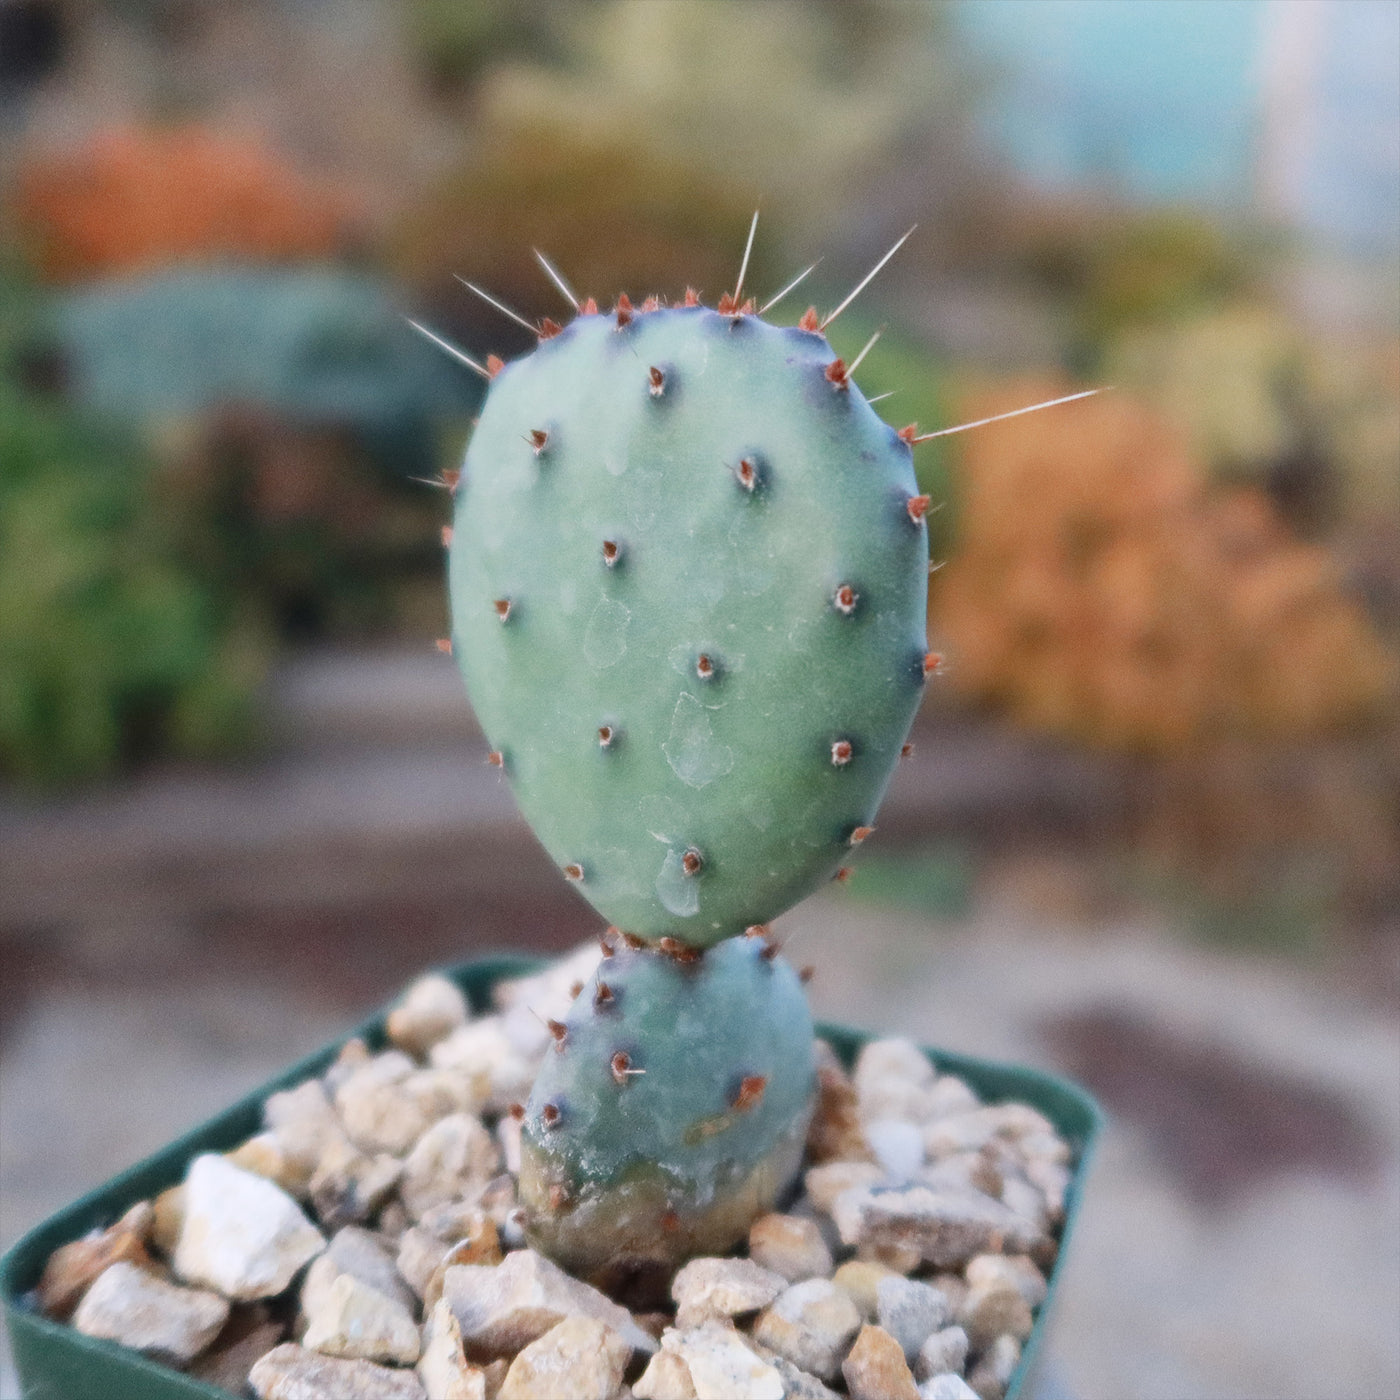
Introducing the stunning Santa Rita prickly pear, also known as Opuntia Santa Rita, a vibrant member of the Opuntia genus. Native to the Sonoran Desert and northern Mexico, it has several other common names, such as Opuntia gosseliniana var. Santa Rita, Opuntia chlorotica var. Santa Rita, Opuntia violacea var. sinta rata, and purple prickly pear. It is highly regarded for its striking purple to violet-colored pads and vibrant yellow flowers.
The Santa Rita prickly pear typically grows in a shrubby, spreading form, reaching a height of about 6 feet and spreading up to 8 feet wide.
Its pads are flat and oval-shaped, and the outer edges are covered in clusters of small, barbed spines. These pads change from light blue-gray in the summer to a rich purple color in the winter.
These purple pads intensify with exposure to sunlight and drought, adding to their visual appeal.
The flowers of the Santa Rita Prickly Pear bloom during the spring and early summer. The Santa Rita prickly pear produces stunning yellow flowers that bloom at the ends of the pads.
Preparing Pads and Fruit
The pads (nopales) and fruits (tunas) of the Santa Rita prickly pear are edible and highly nutritious. The small edible purple fruits and pads of the Santa Rita opuntia, known as prickly pears or tunas, are oval-shaped and can vary in color from green to purple. Before eating, it’s important to handle them carefully because of the small, barbed spines that cover the pads and fruits. Wearing protective gloves or using tongs is recommended.
To prepare the pads, first remove all spines with a knife or vegetable peeler. They can then be sliced, grilled, boiled, or sautéed. Nopales have a slightly tangy flavor and a crisp, slightly mucilaginous texture.
The fruits should be rinsed and peeled, carefully removing the spiny skin. Once peeled, the sweet, juicy flesh can be eaten fresh, added to salads, jams, or desserts, or blended into smoothies and drinks. Both pads and fruits are not only delicious but also rich in fiber, antioxidants, and vitamins.
When and How to Water Your Santa Rita Prickly Pear
The Santa Rita prickly pear has specific watering needs; they requires water sparingly. Overwatering can lead to root rot and other issues, so it's important to find the right balance. The Santa Rita Prickly Pear prefers watering once every 2-3 weeks during the growing season, and once a month during the dormant season.
In spring and summer, during the growing season, you can water the Santa Rita prickly pear once every 2-3 weeks. However, it's crucial to let the soil dry out completely between waterings. Before watering, check the soil moisture by sticking your finger about an inch into the soil. If it feels dry, it's time to water.
In fall and winter, during the dormant season, you can reduce watering to once a month or even less frequently, depending on the climate and humidity levels. Remember, it's always better to underwater than to overwater this prickly pear cactus.
Light Requirements - Where to Place Your Opuntia Prickly Pear
When growing it indoors, choose a south- or west-facing window that offers strong, direct sunlight for at least 4-6 hours a day. A sunroom or a spot with unobstructed, bright exposure will help the cactus retain its vibrant color and compact form.
When grown outdoors, place your Santa Rita Opuntia in a location that receives 4-6 hours of direct sun, especially morning and midday light.
While it prefers full sun, this cactus can also tolerate light afternoon shade in especially hot climates, which can help prevent sunburn or bleaching on the pads. Providing partial shelter during extreme heat waves may protect it from stress.
If the pads begin to stretch, lean, or turn pale green, it's likely not getting enough light. On the other hand, yellowing or scorched-looking pads may indicate excessive exposure during peak afternoon sun. Adjust placement accordingly to help your prickly pear stay vibrant and healthy year-round.
Optimal Soil & Fertilizer Needs
The Opuntia Santa Rita favors very airy, sandy soil that drains well, and should be fertilized once a year in spring. Planting them in ordinary soil will result in compacted roots, stunted growth, and most likely root rot. Instead, make or buy a well-draining potting mix, or ideally, use our specialized cactus potting mix that contains 5 natural substrates and mycorrhizae to promote the development of a strong root system that helps your opuntia cactus to thrive.
When it comes to fertilizing your cactus plant, it only needs a small amount of fertilizer applied once a year in spring. Cacti prefer a fertilizer with lower doses of NPK, with a maximum ratio of 5-10-5 that is higher in phosphorus than nitrogen.
Hardiness Zone & More
The Santa Rita prickly pear is a hardy plant that can tolerate a wide range of temperatures. It is typically suited for USDA hardiness zones 7 - 11.
This means it can withstand temperatures as low as 15°F and can thrive in both hot and cold weather.
The Opuntia Santa Rita prickly pear enjoys warm weather and can tolerate high temperatures up to 100°F or more. However, it's important to note that extreme heat combined with high humidity can be stressful for your Santa Rita plant. Therefore, providing some shade during the hottest part of the day in regions with scorching summers can help protect it.
Indoor Growing Opuntia Santa Rita Requirements
When grown indoors, Opuntia Santa Rita prefers warm indoor temperatures between 65°F and 80°F, and it should be protected from cold drafts or temperatures below 50°F, which can stress the plant. While this cactus doesn’t require high humidity, in fact, it thrives in low-humidity environments, it's important to ensure good air circulation and avoid placing it near humidifiers or bathrooms.
If your home is particularly humid, make sure the soil dries out completely between waterings to prevent root rot. A bright, sunny window and dry indoor air make the perfect environment for Santa Rita to grow indoors successfully.
Wildlife - Opuntia Santa Rita Flowers Attract the Following Friendly Pollinators
The vibrant blooms of the Opuntia Santa Rita flowers are known to attract a variety of friendly pollinators, including bees, butterflies, and hummingbirds. These pollinators play a crucial role in the ecosystem by helping to fertilize plants and ensure their continued growth and reproduction.
According to ASPCA, the Opuntia Santa Rita Prickly Pear is generally considered non-toxic to humans, pets, and livestock. While the spines and glochids (small, hair-like spines) can cause irritation and injury, the pads and fruit are safe for consumption.
How to Propagate Your Santa Rita Prickly Pear
To propagate your Santa Rita prickly pear, start by carefully removing healthy pad cuttings from the parent plant using clean, sharp shears. Allow the cut pad to callous over for a few days before planting it in well-draining soil and watering sparingly to avoid rot. With proper care and patience, your propagated Santa Rita prickly pear will establish roots and grow into a beautiful new plant.
Key Takeaways
- In late spring, this Opuntia cactus produces cheerful, bright yellow flowers, creating a striking contrast against its purple edible pads. The pads (nopales) and the vibrant fruits (prickly pears) are both edible when properly prepared.
- Once established, it needs very little attention—perfect for xeriscaping, container gardens, or as a bold architectural accent.
- Its upright, paddle-like growth creates a bold silhouette that stands out in rock gardens, minimalist landscapes, and modern desert designs.
- Its blossoms attract bees and other beneficial insects, adding ecological value to your garden.
The Bottom Line
Overall, the Opuntia Santa Rita Prickly Pear is a perfect choice. Its unique purple pads add bold color to any space, while its bright yellow spring blooms bring even more life to your garden or home. Whether you’re starting a drought-tolerant landscape, decorating a sunny patio, or adding a splash of color to a windowsill, this low-maintenance cactus delivers beauty year-round. Loved by collectors and beginners alike, the Santa Rita Prickly Pear is more than a plant—it’s a conversation piece that thrives with minimal effort.
Shipping Notes
- Free Standard Shipping on $100+ Orders to the USA.
- Except Preorder products are shipped in 48 hours.
- Delivery to the USA:
- Standard Shipping : 3-10 business days
- If time is of the essence, please consider selecting expedited delivery for faster service.
Exchange/Return Notes
- We offer a 30-day return/exchange service after receiving.
- Final sale items are not eligible for returns or exchanges.
- To process your return/exchange, please contact us at [email protected]
- Please click here for more details>>> Return & Exchange Policy